[Tutorial] How to extract textures from the game.
- MeteoraMan
- Mortal
- Posts: 16
- Joined: Wed Apr 22, 2015 5:14 am
- Location: Russian Federation
[Tutorial] How to extract textures from the game.
1)Select a file texture from which you want to change and extract it with Gildor tools(Extractor)
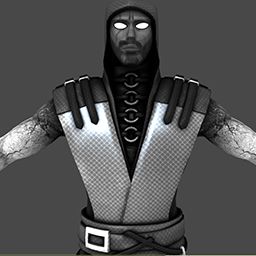
I selected a file with Sub Zero texture - char_subzero_a.xxx
2)Select the texture file you want to edit from the extracted folder. The file extension must be .Texture2D
I chose this texture: char_subzero_a\Textures\SubZero_A1_Diff.Texture2D
Now we need to extract the body of the texture frome this file.
To do this we need to know the size of the header of Texture2D and the size of the texture.
NOTE: You can parse the file format and know the offset and size of the texture. But I did not analyze the format and used a stupid method.
Textures in the format of the game have the same file size as the DXT5 textures.
So just create the texture with expected size in Photoshop and save it in DDS DXT5 with mipmaps. Compare the size of the resulting file with a Texture2d file.
When you pick the right texture size, the files will be almost the same size. In my case, the texture size was 2048*2048(All character costumes textures that I saw was 2048*2048)
Now we know the size of the texture and can calculate the size of the texture body.
Texture body size in this format or in DXT5 is Width*Height.
2048*2048=4194304
Convert this value to hexadecimal system. This can be done with a windows calculator.
4194304 -> 0x400000
Convert the height and width. it is useful to us later.
2048 -> 0x800
3)Open the Texture2d file in hex editor. I use HxD, but it could be any hex editor.
I noticed that after each texture or mip level specified its size vertically and horizontally, 4 bytes each in the reverse order(Little Endian).
Select a block from the beginning of the file, lenght is 0x400000 from the previous step.
From the end of the selection are looking for a texture size in hex system, 4 bytes each in reverse order. In my case: 00080000 00080000
Select the bytes from the end of last selection to the size of the texture and look at the size of the new selection. This is the size of the header. In this case: 0x11B Now go to offset 0x11B Select 0x400000 bytes from this offset and copy to new file. This is the texture body.
Open the Header file from the archive which I have attached to the message. This header is for the 2048*2048 texture. If your texture is a different size, you need to edit the bytes marked in the screenshot for your size obtained in step 2. Insert the header before the body of the texture and save with .DDS extension. 4)Now we need to convert the texture into an editable format.
Download the source code frome here
http://directxtex.codeplex.com/
And compile the texconv program.
Run the program with the following arguments.
texconv.exe -f R8G8B8A8_UNORM -ft DDS -px ed_ -m 1 filename.dds
Where filename is the name of the texturefile.
As a result, you get a texture named "ed_filename.dds". It can be edited in Photoshop.
NOTE: The program can convert the texture, only if your video card supports DirectX 10 or 11. I'm not exactly sure which one of them.
5)Now we can open the texture in Photoshop.
It looks weird. All we need to do is swap the red and blue channels. Now you can edit in Photoshop textures from the game.
How to insert them back, I will teach in the next tutorial.
- mrelectriccity
- Mortal
- Posts: 43
- Joined: Mon Apr 20, 2015 5:57 pm
- XBox Live: electricwun
Re: [Tutorial] How to extract textures from the game.
can someone please upload all the textures please or character models
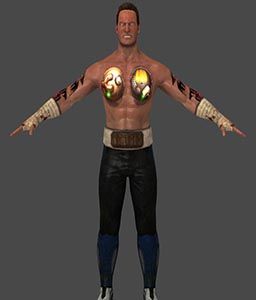
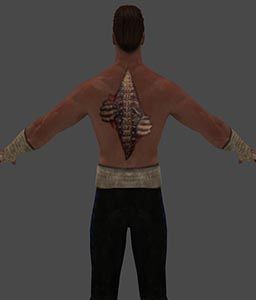
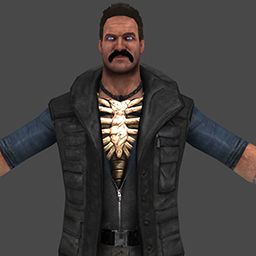
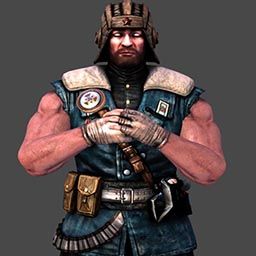
- Gambid
- Elder God
- Posts: 8675
- Joined: Tue Jul 08, 2003 4:17 pm
- Side: Light
- XBox Live: ArmoredGambid
- Location: Bulgaria, Germany
- Contact:
Re: [Tutorial] How to extract textures from the game.
Great job man. Thanks for posting this here. I am going to pin it for everyone to see and use 
I Rule This World!

By the unholy darkness that consumes me, I will have the Earthrealm.
Mortal Kombat Secrets Founder and Webmaster

By the unholy darkness that consumes me, I will have the Earthrealm.
Mortal Kombat Secrets Founder and Webmaster
Re: [Tutorial] How to extract textures from the game.
awesome tutorial man thanks a lot!  I'll try to find gildor's tools and get to work on something cool
  I can't wait for the final part of the tutorial
- mrelectriccity
- Mortal
- Posts: 43
- Joined: Mon Apr 20, 2015 5:57 pm
- XBox Live: electricwun
Re: [Tutorial] How to extract textures from the game.
im lost lol im very new to this got to the hexing point but can't figure out what to do after that


- immortalhate
- Mortal
- Posts: 18
- Joined: Fri Apr 24, 2015 7:40 pm
Re: [Tutorial] How to extract textures from the game.
thanks bro gettiing a error when trying to extract the textures with glidor?
Re: [Tutorial] How to extract textures from the game.
Good job Meteora as always
texconv.exe -f B8G8R8A8_UNORM -ft DDS -px ed_ -m 1 filename.dds
There is a compiled version for Win Texconv ToolMeteoraMan wrote: 4)Now we need to convert the texture into an editable format.
Download the source code frome here
http://directxtex.codeplex.com/
And compile the texconv program.
Run the program with the following arguments.MeteoraMan wrote: It looks weird. All we need to do is swap the red and blue channels.
texconv.exe -f B8G8R8A8_UNORM -ft DDS -px ed_ -m 1 filename.dds
Re: [Tutorial] How to extract textures from the game.
Texture2D "header"
garbage size may vary
garbage size may vary
- MortalKombatXKitana
- Mortal
- Posts: 4
- Joined: Tue May 05, 2015 12:04 am
- Side: Light
- PSN: corbin_2006
Re: [Tutorial] How to extract textures from the game.
I don't understand how to make the HxD into a Texture.dds.. Please help!
- Llama_Renegade
- Mortal
- Posts: 39
- Joined: Fri Apr 25, 2014 10:12 pm
Re: [Tutorial] How to extract textures from the game.
I don't understand this step, or how to find the 4 bytes in reverse order. Could you please explain?MeteoraMan wrote: From the end of the selection are looking for a texture size in hex system, 4 bytes each in reverse order. In my case: 00080000 00080000
- laserhawks
- Mortal
- Posts: 2
- Joined: Thu May 21, 2020 2:09 am
Re: [Tutorial] How to extract textures from the game.
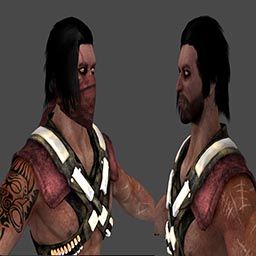
Super tutorial thanks man. now i have managed to extract the texture of kitana from .Texture2D file  .
.
here is my texture result attached is this post.
Update: Also Uploaded Normal Texture for Kitana A1 MKX
i am not able to find her hair and eye lenses. if someone knows from where to find her hairs and eye lenses. if you have one please post the texture here... thanks
Task: Find me her hair and eye lenses texture.
Last edited by laserhawks on Fri May 22, 2020 10:09 am, edited 8 times in total.
- thethiny
- Immortal
- Posts: 2261
- Joined: Fri Jan 17, 2014 12:08 pm
- Side: Light
- PSN: thethiny
- XBox Live: thethiny
- Location: Earthrealm
- Contact:
Re: [Tutorial] How to extract textures from the game.
well done 
- laserhawks
- Mortal
- Posts: 2
- Joined: Thu May 21, 2020 2:09 am
Re: [Tutorial] How to extract textures from the game.
thanks bro...thethiny wrote:well done
